Getting Started with GIZA™ Miscellaneous
Welcome to GIZA™ Miscellaneous! This guide will help you quickly familiarize yourself with the software and start designing effectively.
Follow these steps to get started:
1. Installation and Setup
Download the Software: Visit the GIZA website to download the latest version of GIZA™ Miscellaneous.
Install the Application: Follow the installation prompts specific to your operating system (Windows or macOS). Once installed, launch the application.
2. Sign up/Sign in
Register as a User: To get started, create an account on GizaSteel by providing your basic details, including your name, email address, and password.
Licenses Assignment: The company-managed licensing system assigns licenses to users within the organization. (See the Online Licensing Guide for more details.)
Sign in/Login: Once registered, login from the start page to access and begin using GIZA™ Miscellaneous.
3. Start a Session
Launch the Application: On the GIZA™ Miscellaneous home screen, select “New Session” to create a new session or “Open Session” to load an existing one. Either option will direct the user to the Multiple List View tab, which serves as the primary navigation interface within the application. (Refer to the tabs located below the toolbar.)
Input Job Information Details: Update the default job information with specific details to tailor your session to your requirements.
4. Build and Organize Your Session
Create a Set: In the MLV tab, click
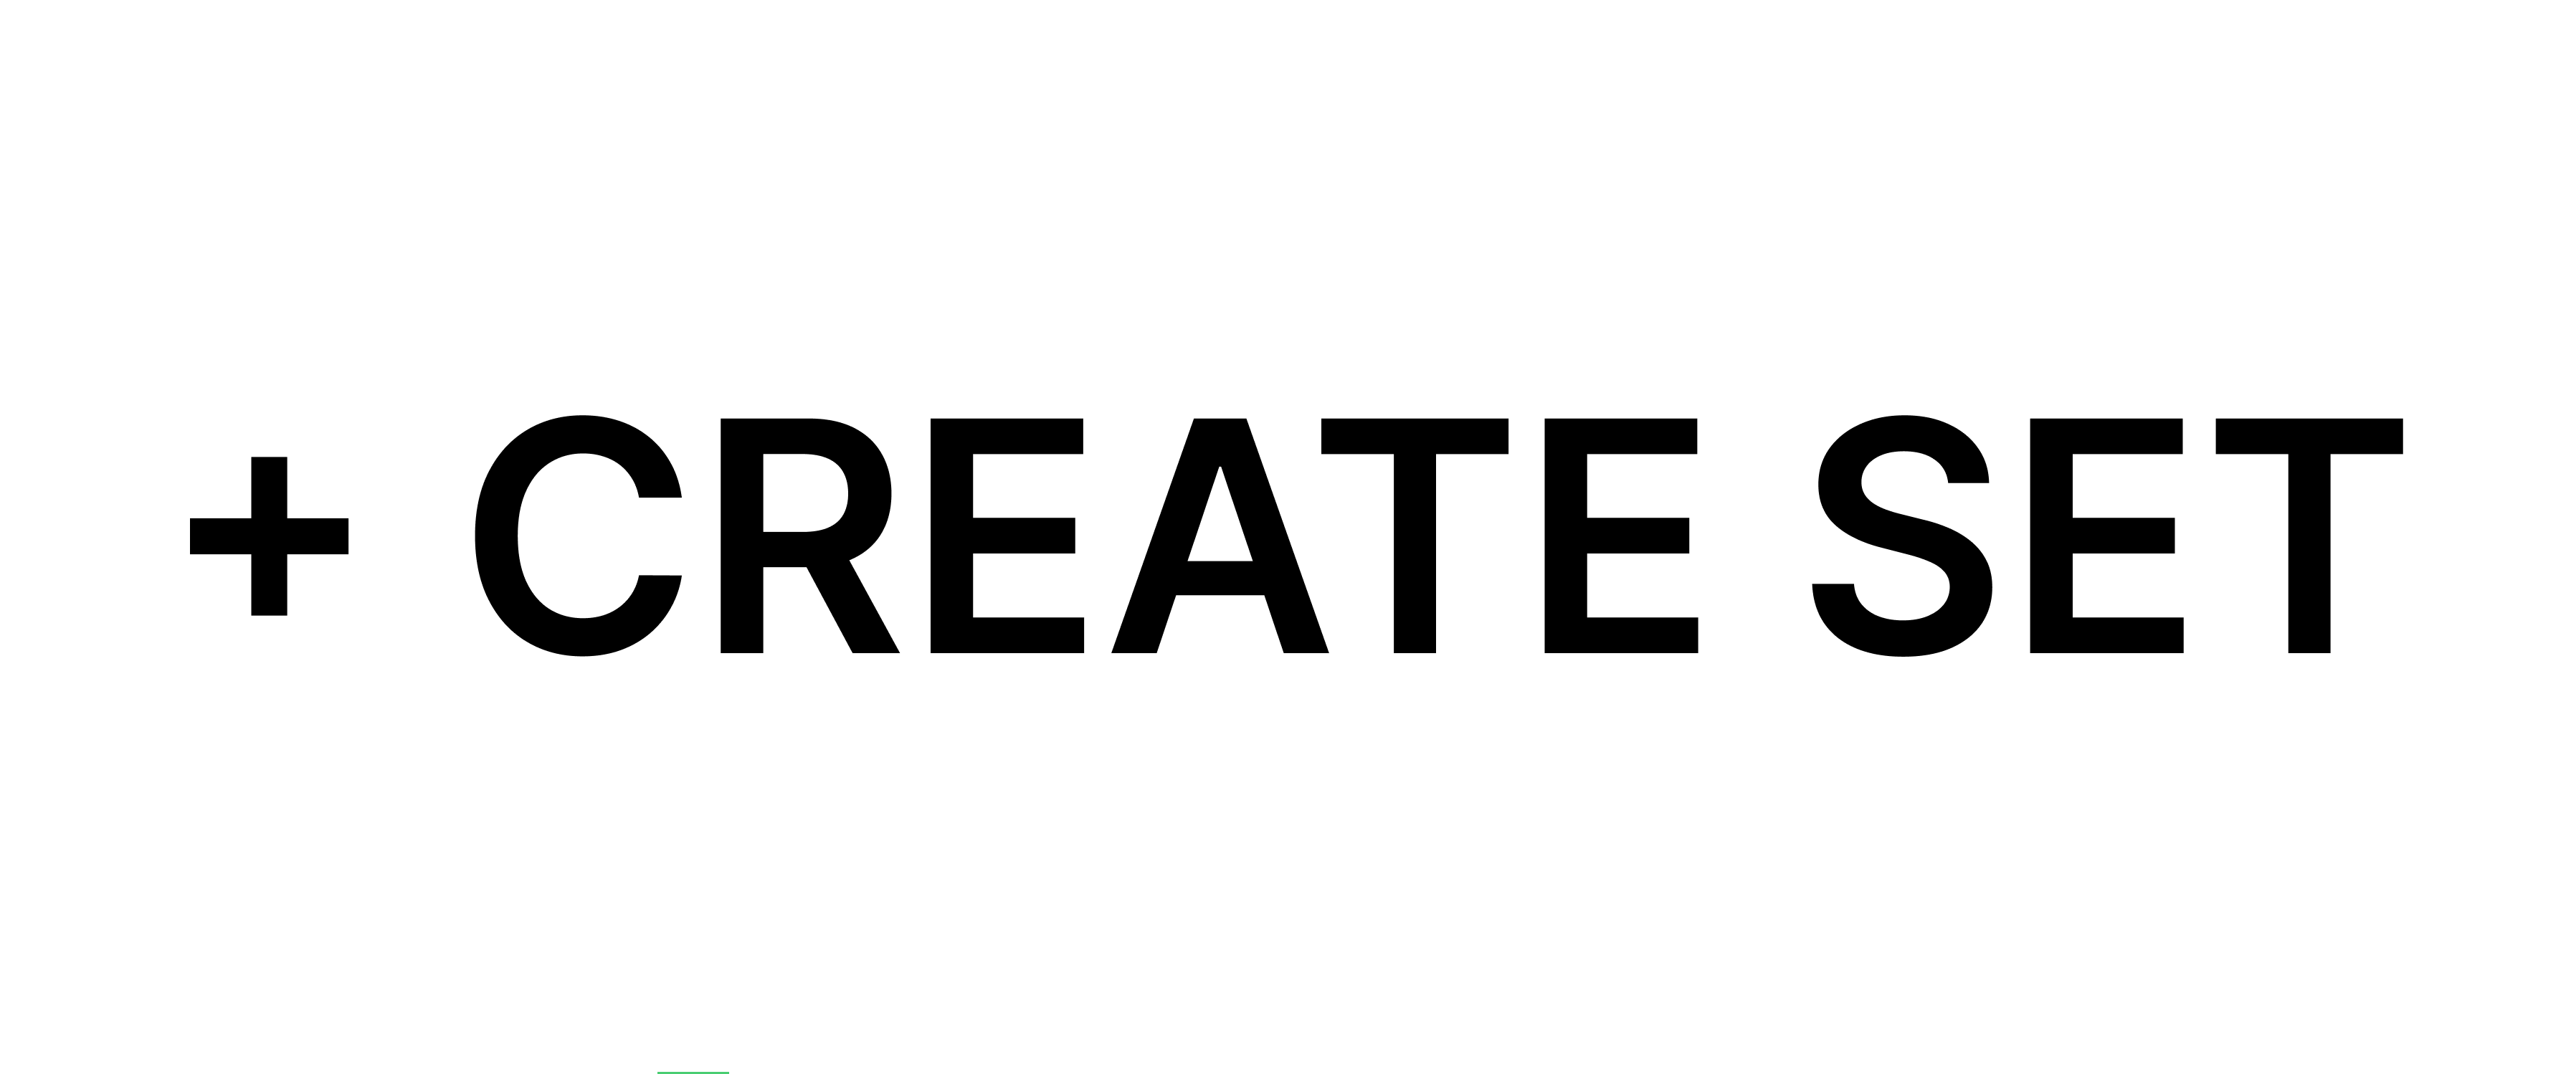 button and rename it to organize different areas or phases of your job before adding design templates.
Add a Template: Click the Add
 button in the Set and choose from pre-defined templates. Rename them as needed before adding them to the set.
Open the Template: Click the template menu and select ‘Open’ to view the template’s interface in the Single View(SV) tab or simply double-click the template to open it.
Expand Your Session: Add as many sets and templates as necessary to optimize and fully utilize your session’s potential.
5. Familiarize Yourself with the Interface
Multiple List View (MLV) Tab: Navigate through job information details and manage sets and templates—a customizable list of sets and templates for each specific job.
Single View (SV) Tab: Access tools for 2D and 3D dynamic sketches, report generation, material optimization, compliance checks, and design recommendations.
Toolbars and Menus: Get acquainted with the toolbars, which provide quick access to key features.
6. Design and Calculation
Design Your Template: In the Single View tab, modify the parameters needed to refine your design.
Use Dynamic Sketching Tools: Utilize the 2D and 3D sketching capabilities to create and visualize your designs. Adjust parameters in real-time to see how changes affect your sketches and design.
Automate Calculations: For every change in the parameter in the user interface, GIZA™ Miscellaneous will automatically perform necessary calculations based on the input parameters.
Review Results: Check for any errors or unsatisfied checks in the Checks and Recommendation accordion to ensure compliance with structural codes.
7. Generate Reports
Create Detailed Reports: After finalizing your design, head to the toolbar and select ‘Report’ to customize the display options. Preview the report to confirm your design before generating it.
Export Report: The generated report is only available in PDF format.
8. Save and Save As File
Save Your Work: Regularly save your project to avoid losing progress. Use the “Save” option in the toolbar.
Save the File: Use the “Save As” option to store your session in a .gzm file format for easy access and future reference.
9. Access Help and Support
User Manual and Tutorials: Refer to the built-in user manual (
 -button in MLV and SV tab or the
  button in the start screen) for detailed instructions on specific features and functionalities.
Customer Support: For further assistance, contact GIZA customer support through the About
 info in the toolbar or visit the GIZA website for FAQs and community forums.